Bofig
Well-known member
I’m just starting my journey, I got a list from @Dbox that he bought for up to 3-400 trees. It was costly initially like $500-600 total, majority will be usable over several years. I have my hydrant Y split and leave it on, then one line to the high tunnel and have a 4-way splitter in there, one line dedicated to an automated 4-way timer. B-hyve timer I got off amazon and I can program it Bluetooth with my phone very easily and is user friendly. I purchased an inline filter from amazon as well installed between the 4-way splitter and the timer.
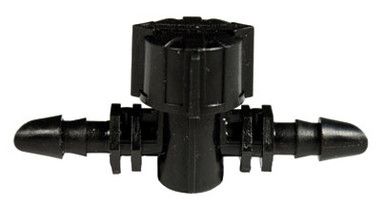
At the timer I have a pressure reducer to 25 psi, well water is sitting 55-70 psi roughly as it cycles the pump. Connect an adapter to the psi reducer and run a 1/2” line where you want the trees, mine are zip tied to steel stakes in the ground to make them sturdy. Then an end cap at the end of the run, so far all of this has been assembled with zero tools and only zip ties. Once the run is placed and the trees are set, the first tool comes in which is a puncture and installer handle that makes a hole in your main line. Install nipple to the main line and connect 1/8” feeder line to the tree, there is a T stake installed into the tree. Connect the drip line also to the T stake and now your done. Size up the drip line to the size you need roughly 1 hole per 2-3 gallons of soil and mine is 1 hole every 6 inches with a .52 gph rate. Connect all your trees and done, maybe 50 trees per run is where I will top it and have 3-4 runs of just trees staggered in watering times.
At the timer I have a pressure reducer to 25 psi, well water is sitting 55-70 psi roughly as it cycles the pump. Connect an adapter to the psi reducer and run a 1/2” line where you want the trees, mine are zip tied to steel stakes in the ground to make them sturdy. Then an end cap at the end of the run, so far all of this has been assembled with zero tools and only zip ties. Once the run is placed and the trees are set, the first tool comes in which is a puncture and installer handle that makes a hole in your main line. Install nipple to the main line and connect 1/8” feeder line to the tree, there is a T stake installed into the tree. Connect the drip line also to the T stake and now your done. Size up the drip line to the size you need roughly 1 hole per 2-3 gallons of soil and mine is 1 hole every 6 inches with a .52 gph rate. Connect all your trees and done, maybe 50 trees per run is where I will top it and have 3-4 runs of just trees staggered in watering times.